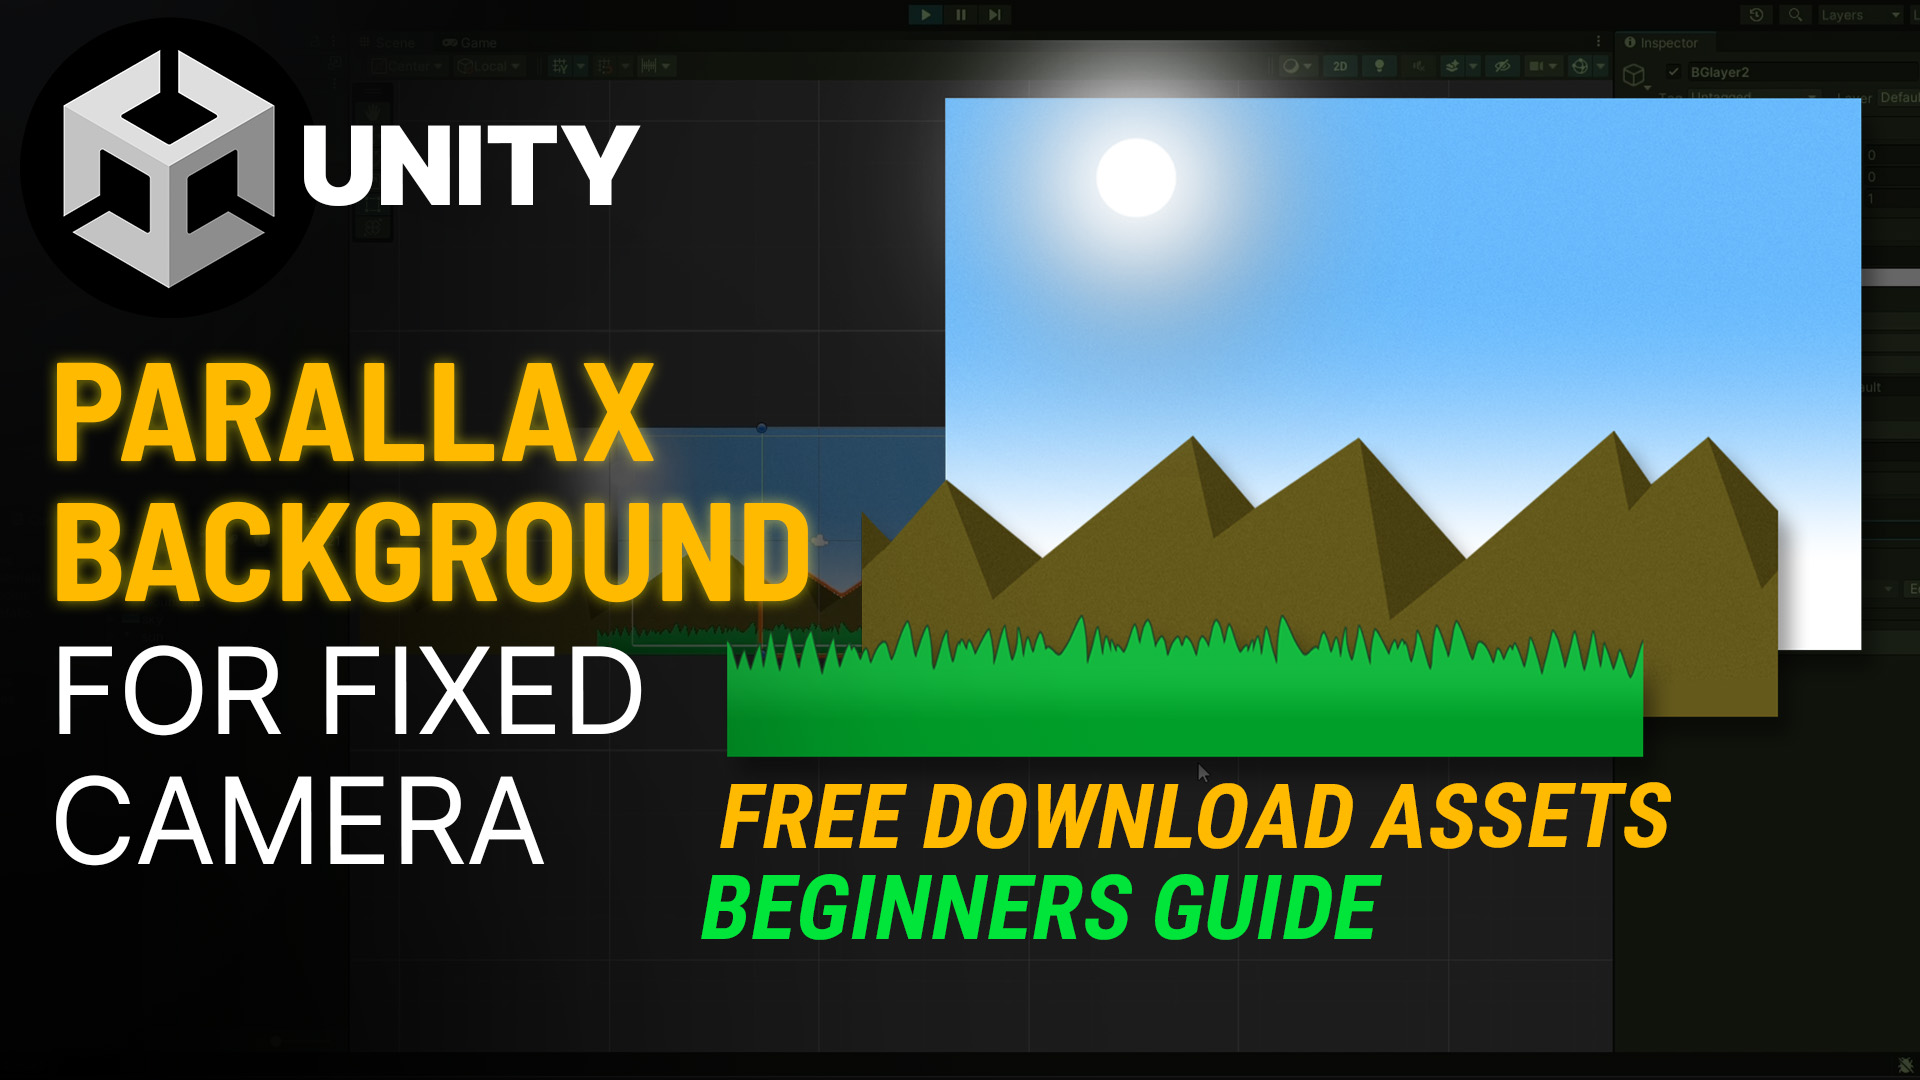
This article is all about How to Create Parallax Background in Unity for Static Fixed Camera, using Unity 2D game Engine and Photoshop Image Editor. You can also use any other software for both tasks as long as you understand the logic, you can create it anywhere. We are also providing game assets used in this process as free downloads which can speed up your process.
Creating Parallax Background in Unity for Static Fixed Camera
Follow our Step by Step guide to Create parallax background in Unity for a fixed or static camera, or you can also follow the video tutorial using the video above. All of the assets used in this tutorial are free to download and you can use them in any way you like commercially or personal. Let’s start the process.
Free Download Assets & Scripts
Download Script & Assets Here (Github)
#1
Creating new Project in Unity
Create a new Project in Unity using 2D pipeline, or you can also work in your existing project. Give it name and let Unity do its stuff. Once Project is ready to work on, we will start by creating a Parent Game Object and then create 3 children game objects inside it. these will be the layers for our parallax background, while the parent game object serves as the bottom-most base static background.
#2
Creating Layers in Photoshop
Now, we will use Photoshop to create three images for our parallax layers. You can make more or fewer layers based on your needs. Here, we will create a base layer called “sky,” a front layer of grass, a middle layer of mountains, and a distant layer with the sun.
Now to make a seemless pattern, you need to make sure that horizontal edges of your layers align with each other. to make it easy you can use Horizontal Offset Filter in Photoshop. After you are done drawing, Save each image as a PNG file with transparency.
#3
Set up Layers as GameObjects
Now in Unity, add a Sprite Renderer component to all game objects, including the parent. Drag the PNG image into the project to import it as a game asset. Set “Full Rect” in Sprite Settings to use the image’s full resolution. Then, drag the imported images into the Sprite Renderer component of each game object. For the parent object, set the sky layer as the base static layer. The child objects will be the moving parallax layers. Set the Sort Order for the child objects correctly so they appear in the right order.
#4
Create C# Script for Parallax Functions
Let’s create a C# script for our parallax functions. Open your code editor and follow these steps to write the code.
First, define a variable called `parallaxSpeed`. This controls how fast and in what direction the background moves. Use a positive number to move the background to the right. Next, create a few helper variables.
In the `Start` function, which runs once when the script loads, get the width of the background image. Multiply this width by 2. We do this because we will clone the layers, making the total width twice as large.
#5
Cloning the layers with Code
Now, write the code to clone your game objects. Use the `Instantiate` function to create a clone next to the original game object. Set its parent and scale to match the original so that it looks identical.
This clone has the same components, so it will run the script again and create endless clones. To stop this, remove the script component from cloned objects and set the “Object-Cloned” boolean to true. This will prevent the script from running again. Save the script and add it to all layers by dragging it into the game objects’ inspector. Do not add it to the parent game object, as that remains fixed. Run the game to check if the clone works.
#6
Movement the layers with Code
Now in the Update function, add code to move the game object along the x-axis with respect to time. Apply the same code to the cloned object.
#7
Making Endless Loop with Code
To make both objects loop seamlessly, create a reset-position function and use it for both the original and cloned object. This will make them appear endlessly next to each other, creating the illusion of endless scrolling.
#8
Modify Speed Values or Options
And its all done, you can play with the speed values, but do make sure to keep them different from each other, Run the Game to test your parallax background for static camera. And finally don’t forget to subscribe to our channel if you liked the video.
Downloads
Download Script & Assets Here (Github)
To support us you can Subscribe on YouTube. Thanks for Reading & Watching!
#defacegames #gameassets #gamedesign
